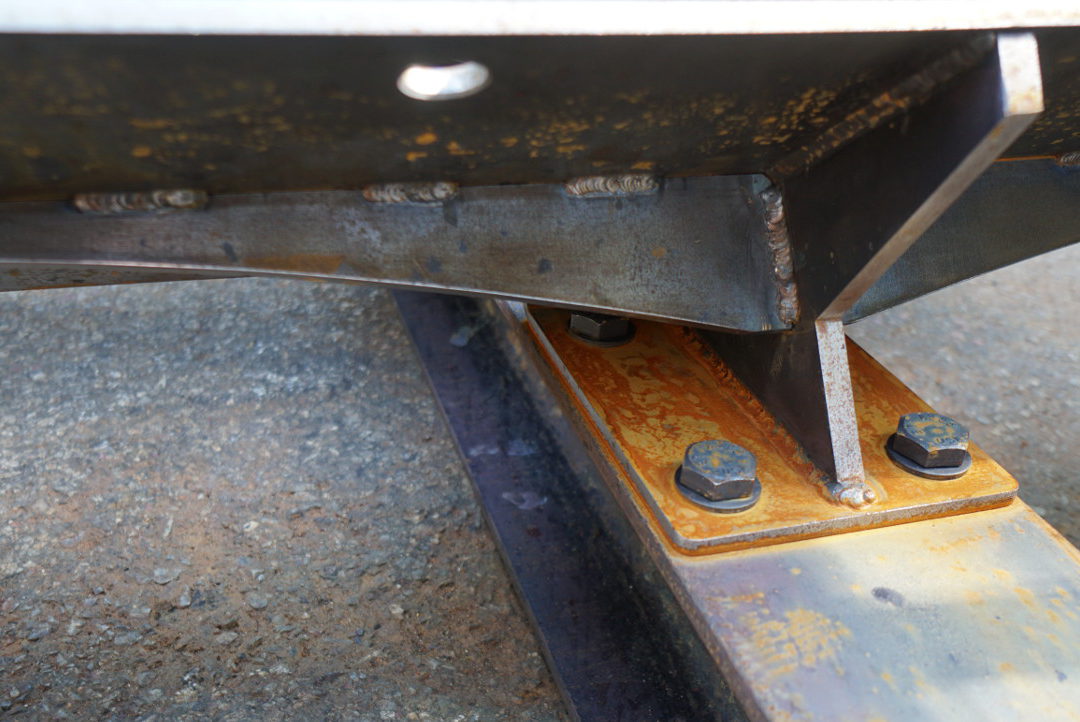
RUSTED STEEL CANTILEVERED STAIRS. Part two of three. Here are a few pictures from my recent progress inspection at Hamilton Metalcraft on Long Island. The client and I are very happy with the quality and progress thus far. The image above shows a detail of a typical tread plate bolted to the steel W5x16. Grade 8, high strength steel cap screws fasten the plates to the threaded I-beam. The rust colors are simply organic, beautiful and true to the material.
For more background on this project start with the original blog post: Rusty Stairs.
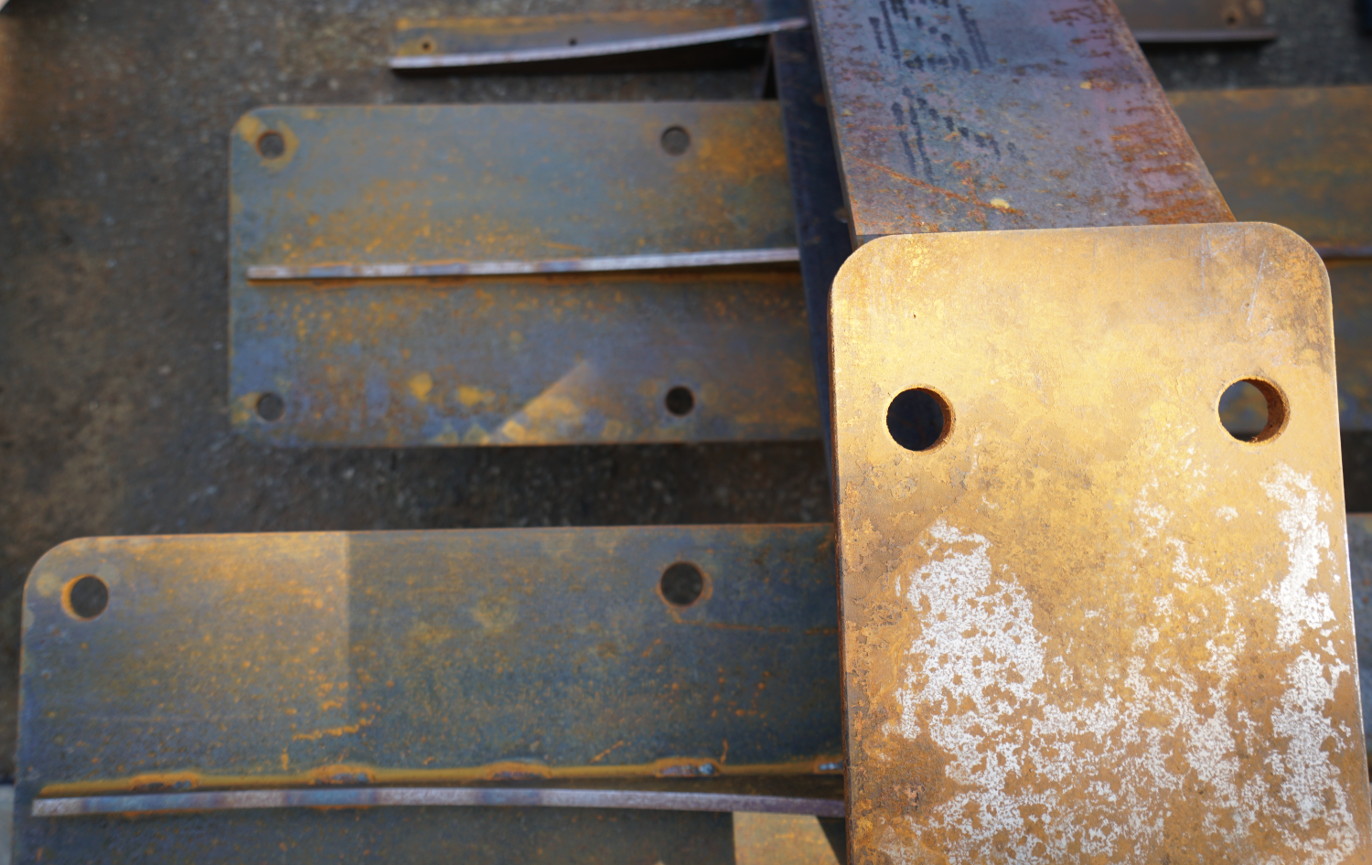 Above: The underside of several tread plates. The top most piece is the floor mounting plate.
A fragment of control
Designers are control freaks. That’s why I love CNC technology. I have the ultimate control even when I am not present. All flat parts on a project of this nature are laser cut directly from my CAD drafting files. I am guaranteed that every part will exactly match my design intent. Artisans then hand assemble the parts. Consequently, we end up with a very precise product that bears the hand crafted signature that I am so fond of.
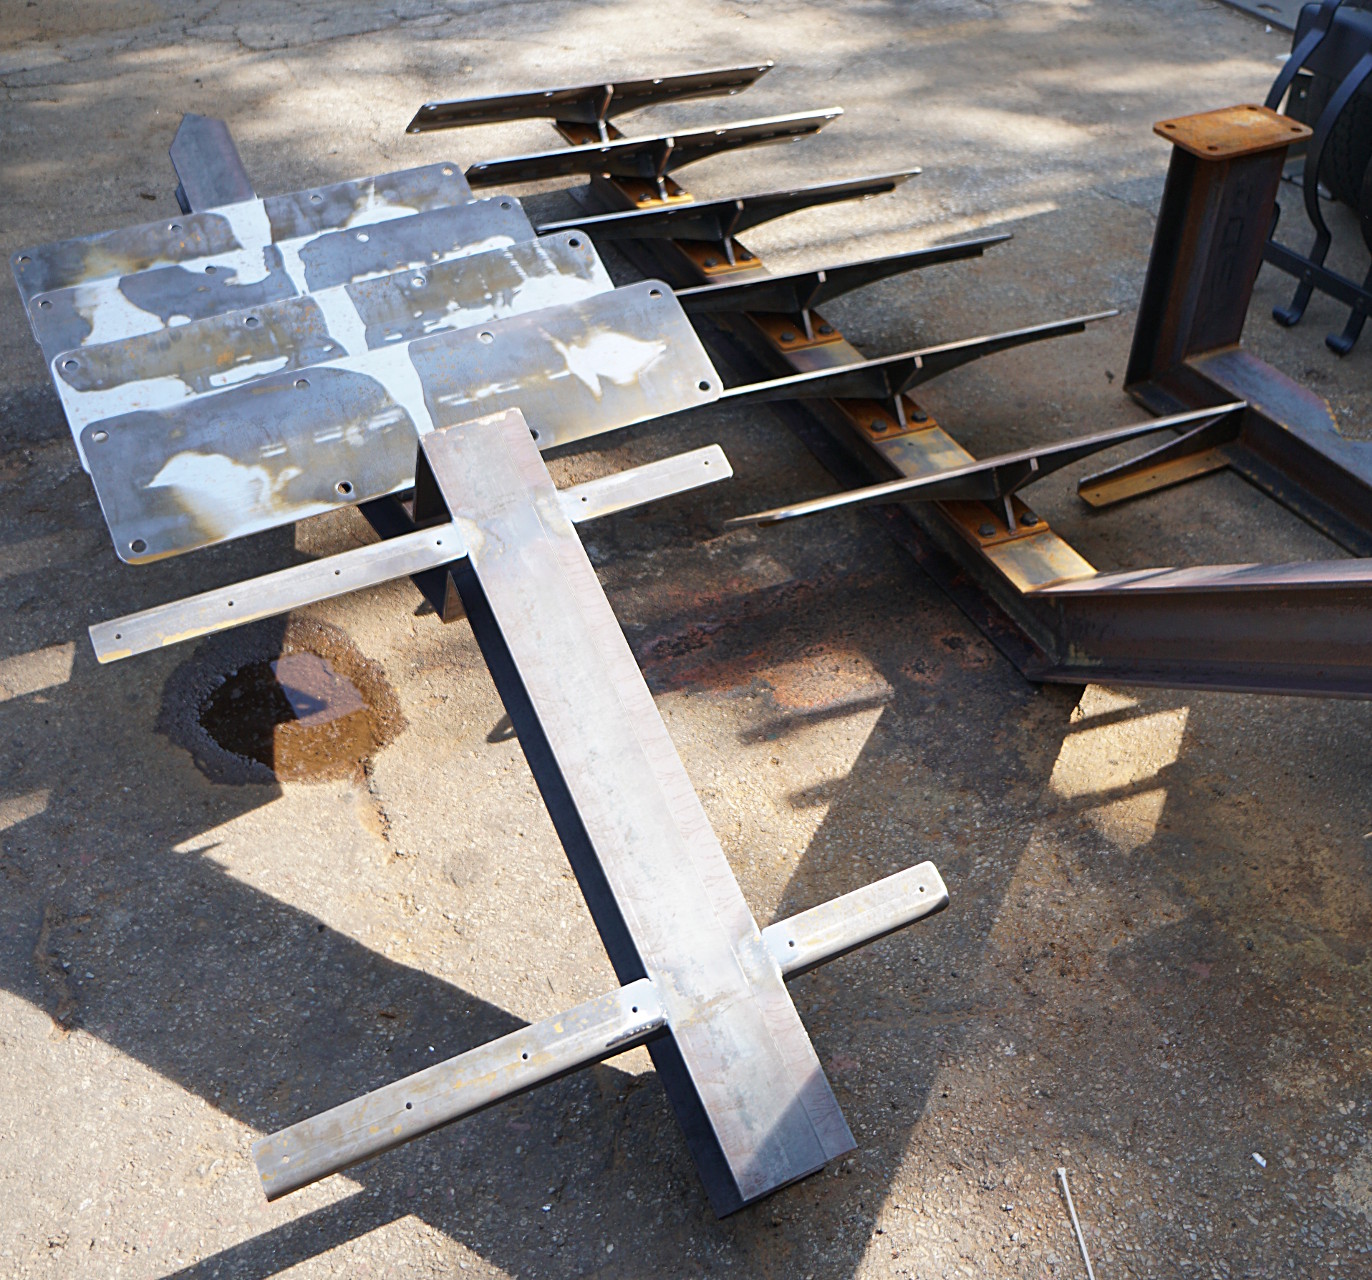
Above: Two stair runs are deserted outside to naturally oxidize.
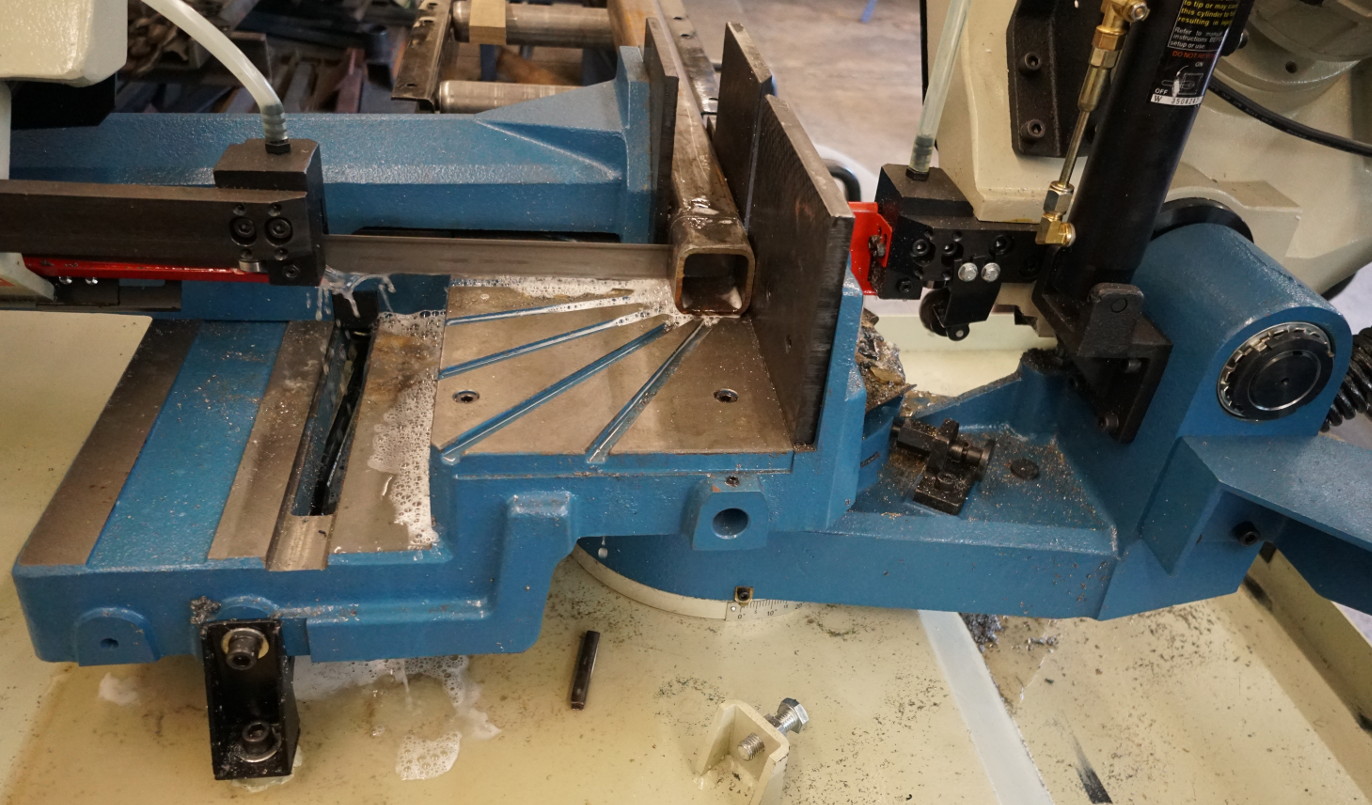
Above: I wish I had one of these in my garage! A completely automated nifty water cooled bandsaw. Just load your material, step back and watch it create a perfectly square cut.
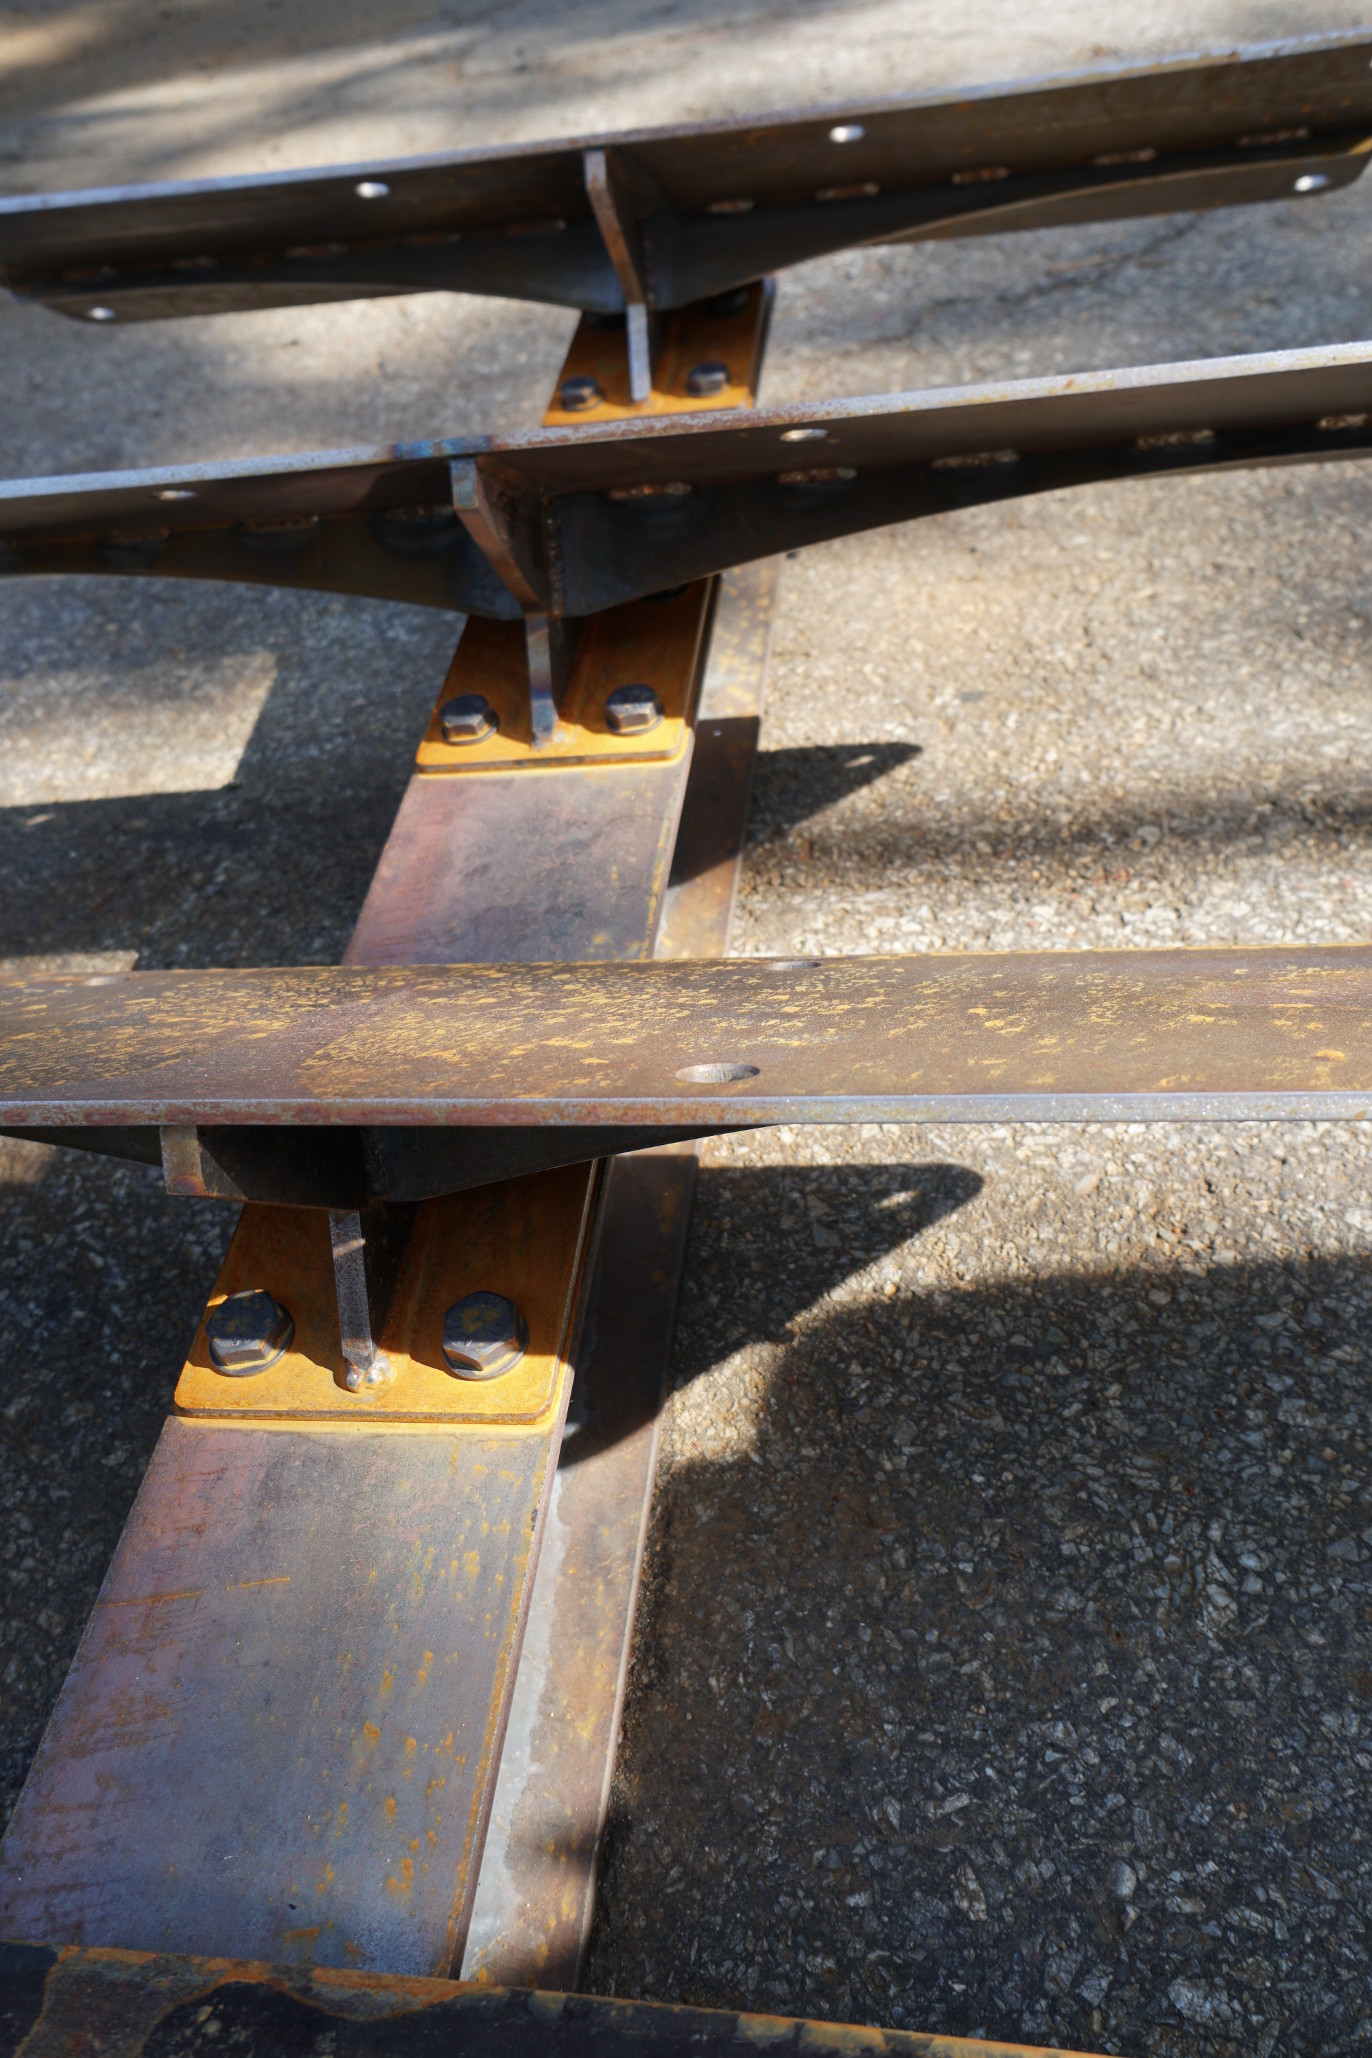 Above: The somewhat natural rusting process taking place outdoors.
Our natural rust finish
- – Start with clean metal that is free of oil, grease and other contaminates.
- – Create a solution of vinegar, bleach and salt.
- – Spray the steel with the solution using a hand spray bottle. Repeat as needed.
- – Leave the material outdoors to speed up the process.
- – Rinse with water when you have achieved the desired degree of rust. Let dry thoroughly.
- – Coat the steel with Penetrol straight out of the can.
- – Finally, finish the steel with a coat or 2 of matte polyurethane.


